Cleaning an air purifier takes about ten minutes and comes down to four things: unplug it, clean the pre-filter, wipe the exterior and vents, and clean the air-quality sensor lens. The one rule that matters most is what you don't do — you don't wash the True HEPA filter unless it's specifically labeled washable, because water destroys the pleated media that actually traps particles. Everything else is straightforward maintenance that keeps airflow strong and auto mode accurate.
Key takeaways
- Always unplug first. Never clean any part while the unit is powered.
- The pre-filter does the cleaning-friendly work. Vacuum or rinse it (if washable); it catches the big stuff so the HEPA lasts longer.
- Never wash a True HEPA filter unless the manual says washable — water ruins it. HEPA is a replace part, not a clean part.
- Clean the sensor lens. A dusty optical sensor is the top cause of a purifier stuck on a loud fan speed.
- Wipe the exterior and vents so dust doesn't get pulled back into the airflow.
Why should you unplug it before cleaning?
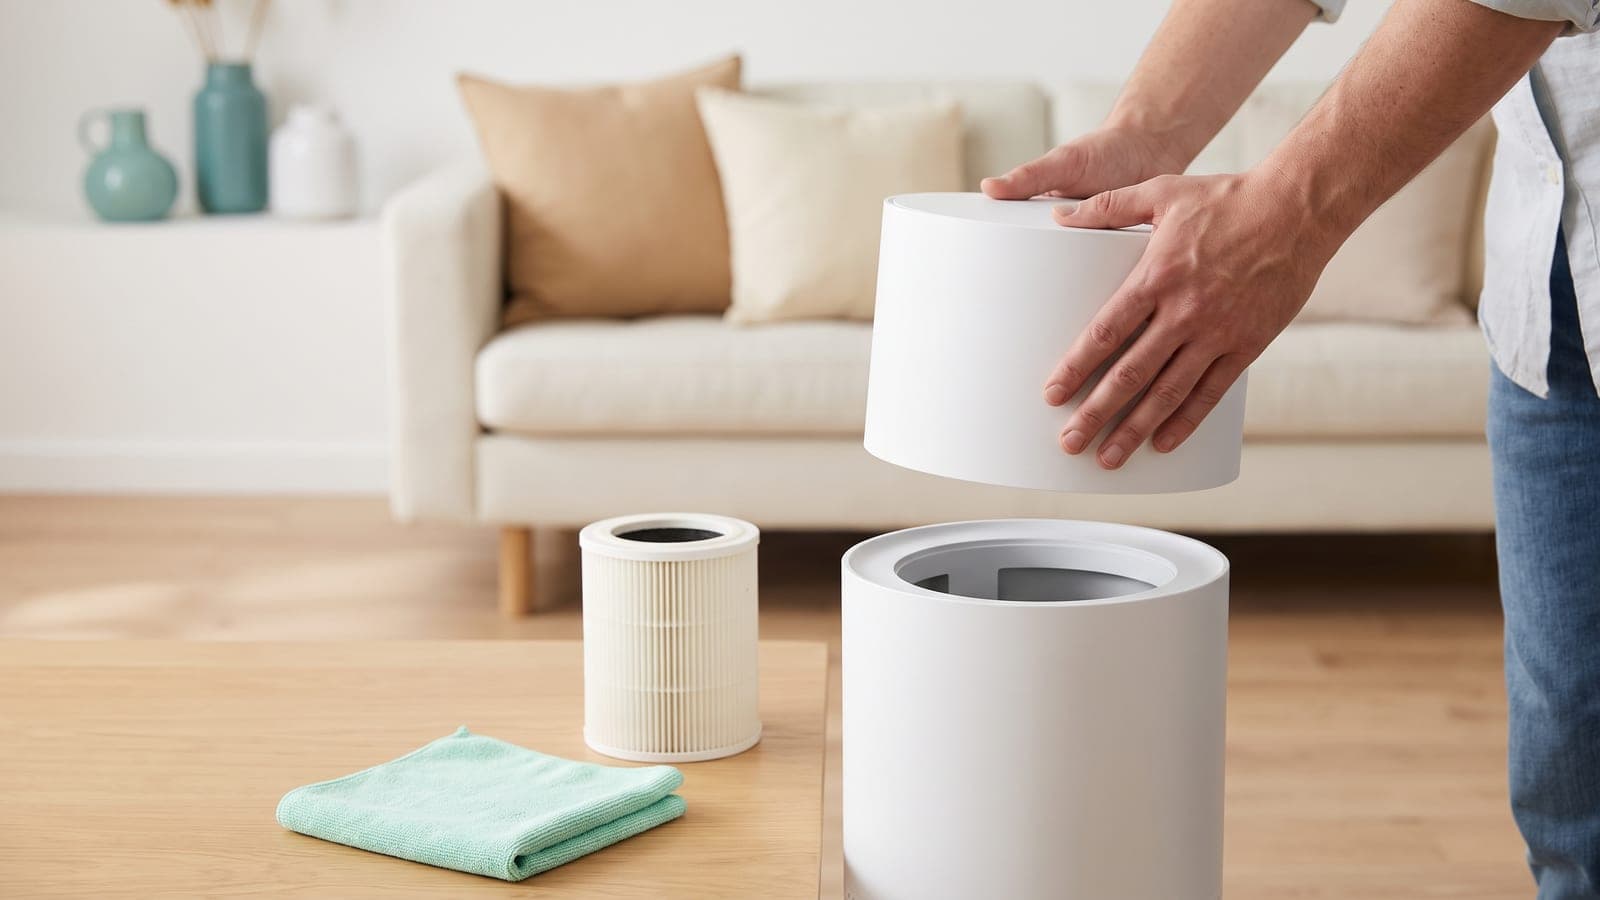
Safety and simplicity. You'll be reaching near the fan, the intake, and the electronics, and a purifier that kicks on in auto mode while your fingers are inside is both a shock hazard and a way to bend a fan blade. Unplugging it — not just switching it off — takes the machine fully out of the equation so you can open the housing, pull filters, and wipe vents without anything spinning up.
It also lets the sensor and electronics sit cold and still, which makes the optical sensor lens easier to clean and prevents a smear of moisture from tripping anything. Pull the plug, set the unit on a table or the floor with good light, and have a cloth, a soft brush or vacuum, and a couple of dry cotton swabs ready before you open it up.
How do you clean the pre-filter?
The pre-filter is the outermost, coarsest layer — often a mesh screen or a foam-like sleeve that wraps the HEPA. Its whole job is to catch hair, lint, and large dust so those never reach the finer filter, which means it's the part that gets visibly dirty fastest and the part that's actually designed to be cleaned.
Check your manual for whether yours is washable or vacuum-only:
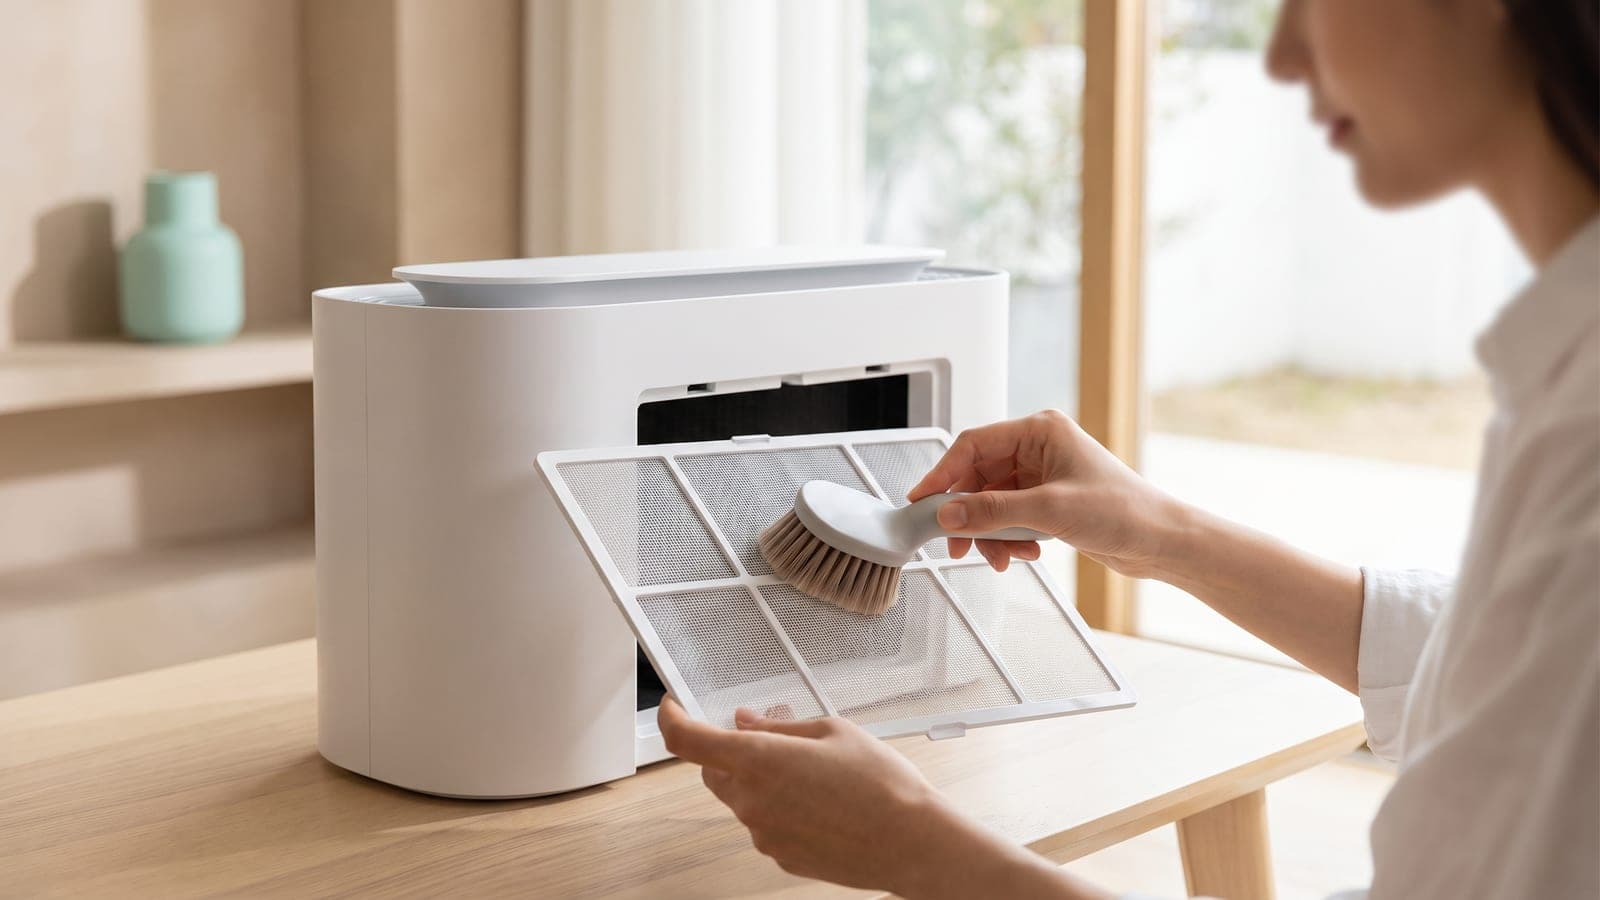
- Vacuum-only pre-filters: run a vacuum brush attachment over both sides, or brush the dust off outdoors. Quick, and no drying time.
- Washable pre-filters: rinse under lukewarm water until the water runs clear, shake off the excess, and — this is the critical step — let it dry completely before reinstalling. A damp pre-filter breeds mildew and can make the whole unit smell musty.
Some carbon layers (like the Winix washable carbon filter) are also rinsable, but many aren't, so verify before you soak anything. When in doubt, vacuum rather than wash.
Can you wash the HEPA filter?
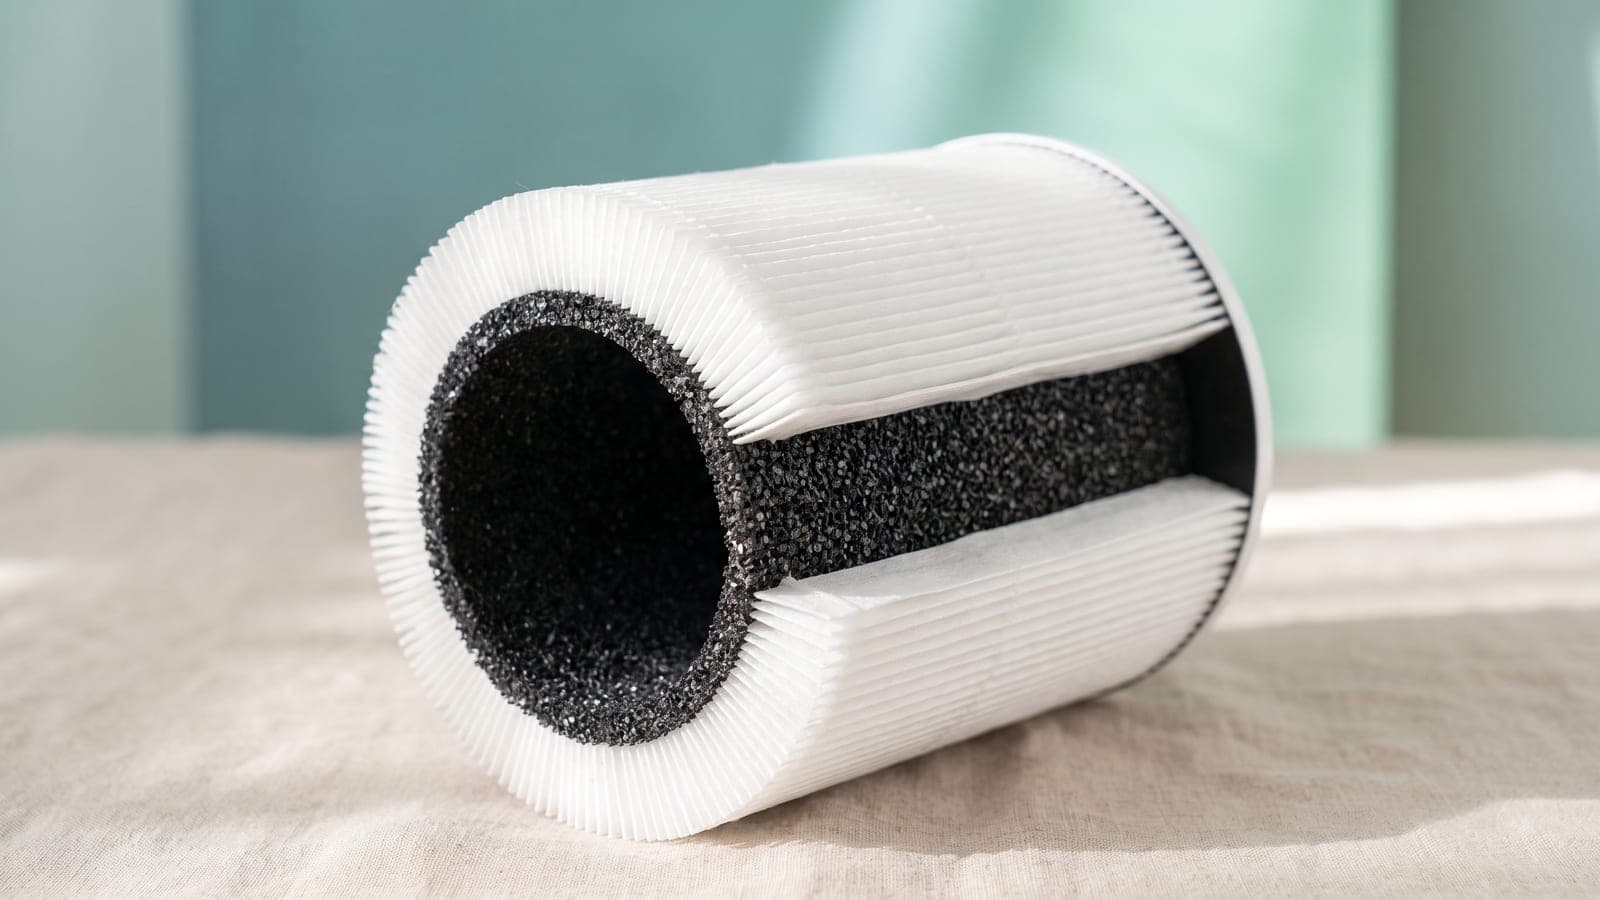
Almost always no. A True HEPA filter is a dense mat of pleated fibers engineered to trap particles down to 0.3 microns, and that fine structure is fragile. Running it under water soaks and collapses the pleats, can tear the media, and leaves gaps that particles slip straight through — and it never fully recovers. Once it's wet, a standard HEPA filter is effectively ruined even after it dries.
The only exception is a filter the manufacturer explicitly labels washable or rinsable — a small minority of models. For everything else, HEPA is a replace part, not a clean part. You can gently vacuum loose surface dust off the HEPA's face to buy a little time between replacements, but that's the limit. When airflow drops or the filter looks grey and packed, replace it. Our guide on how often to replace your air purifier filter covers the timing, and the greying is a normal sign of a filter doing its job, not something to wash out.
What about the exterior, vents, and fan?
Dust settles on the housing and — more importantly — around the intake and outlet vents, where the airflow can pull it right back into circulation. Wipe the outside of the unit with a dry or lightly damp microfiber cloth, then run a dry brush or the vacuum's brush attachment across the vent slots to clear the dust that collects between them.
Keep moisture away from the electronics and the control panel — damp cloth on the plastic shell only, never dripping. If you can see dust on the fan blades through the housing, a soft brush or a short burst of compressed air clears it; don't force the fan around by hand. A clean intake means the pre-filter and HEPA get the full airflow they're rated for, which is half of why sizing and placement work at all.
How do you clean the air-quality sensor?
If your purifier has an auto mode with a sensor, it reads the air through a tiny optical lens behind a small vented panel, usually on the side. Dust on that lens scatters the light and makes the sensor read dirtier than the room actually is — so the fan roars on high and the light stays red no matter what. Cleaning it is the fix people most often miss.
Open the little sensor cover (check the manual for its location), and gently clean the lens and the surrounding opening with a dry cotton swab, or a swab barely dampened and then followed by a dry one. Don't use cleaning fluids or soak it. Do this every month or two and auto mode stays honest. If your sensor still misbehaves after cleaning, our air-quality sensor always red or inaccurate troubleshooting page walks through the rest.
How often should you clean each part?
Cleaning intervals depend on your home — pets, dust, and smoke all shorten them — but here's a sensible baseline. Note the key distinction: the pre-filter and sensor are cleaned, while the HEPA and carbon filters are replaced on their own schedule.
| Part | Clean or replace | How often |
|---|---|---|
| Exterior housing | Wipe (dry/damp cloth) | Every 1–2 weeks |
| Intake & outlet vents | Vacuum or brush | Every 2–4 weeks |
| Pre-filter (washable) | Rinse, dry fully | Every 2–4 weeks |
| Pre-filter (vacuum-only) | Vacuum both sides | Every 2–4 weeks |
| Air-quality sensor lens | Dry cotton swab | Every 1–2 months |
| True HEPA filter | Replace (don't wash) | Every ~6–12 months |
| Carbon/VOC filter | Replace (unless washable) | Every ~3–6 months |
| Fan blades | Soft brush / compressed air | Every few months, as needed |
Treat these as starting points and adjust up if your unit or filter indicator tells you the air is dirtier than average.
What's the bottom line on cleaning?
Unplug the unit, clean the pre-filter, wipe the exterior and vents, and clean the sensor lens — and leave the True HEPA filter alone unless it's labeled washable. That routine keeps airflow strong, auto mode accurate, and the whole machine running the way it's rated to, while saving the actual filter for scheduled replacement rather than a wash that would wreck it.
Since the filters are the part you replace rather than clean, it's worth knowing what that costs over time before it sneaks up on you. Run your model through the air purifier filter cost calculator to see the real annual figure — cleaning the pre-filter and sensor is free, but the HEPA and carbon replacements are the ongoing number that actually shapes cost of ownership.
Frequently asked questions
How do you clean an air purifier?
Unplug it first. Vacuum or rinse the washable pre-filter, wipe the exterior and the intake and outlet vents with a dry or lightly damp cloth, and clean the air-quality sensor lens with a dry cotton swab. Let any washed parts dry fully before reassembling. Do not wash a True HEPA filter unless the manufacturer specifically labels it washable.
Can you wash a HEPA filter and reuse it?
Only if it is labeled washable — most True HEPA filters are not. Washing a standard HEPA filter soaks and tears the delicate pleated media, destroying the fine structure that traps particles, and it never fully recovers its rating. Vacuuming the surface gently can remove loose surface dust between replacements, but a True HEPA filter is a replace-not-clean part. Check the manual before rinsing anything.
How often should you clean an air purifier?
Wipe the exterior and vents every couple of weeks, clean or vacuum a washable pre-filter every two to four weeks, and clean the sensor lens every month or two. These intervals go up in dusty homes or with pets. The HEPA and carbon filters aren't cleaned on this schedule — they're replaced on their own timeline, which is separate from routine cleaning.
Why is my air purifier dusty or making noise after cleaning?
A clogged pre-filter or dust built up on the fan can cause extra noise and reduced airflow. Make sure the pre-filter is fully dry and correctly seated, and that no filter was left partly out of position. If the sensor lens was dusty, cleaning it can also change how the unit behaves on auto. Persistent rattling after cleaning usually points to a loose part rather than dirt.
Do I need to clean the air-quality sensor on my air purifier?
Yes, if your unit has one. The sensor reads air quality through a small optical lens, and dust on that lens makes it read high and hold the fan on a loud speed. Gently cleaning the lens with a dry cotton swab every month or two keeps auto mode accurate. It's a two-minute job that often fixes a purifier that seems stuck on a high fan speed.